Access your S3 bucket using Cognito
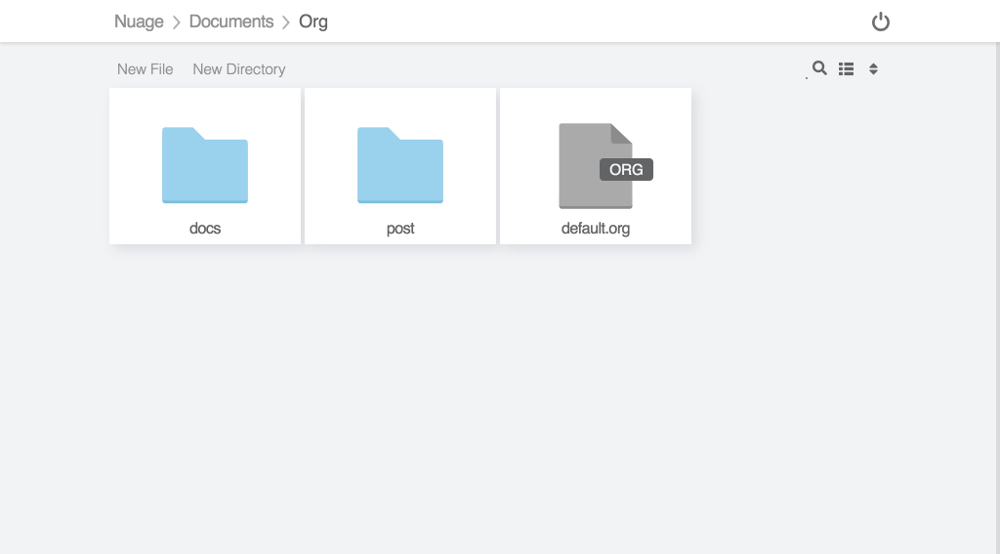
In this guide, we will make a web UI to access S3 buckets that delegates the authentication to AWS Cognito. The solution we’re building here looks like this:
All this in 3 steps:
- step1: install Filestash
- step2: create our IDP using AWS Cognito
- step3: configure the authentication middleware in Filestash to use AWS Cognito
The longest piece by far is the setup of AWS Cognito, once that’s done, you will be good to go in less than 5 minutes (I pinky promise).
Step1: Install Filestash
You can install Filestash by following our documentation or by using it straight from the AWS marketplace.
Step2: Setting up the IDP with AWS Cognito
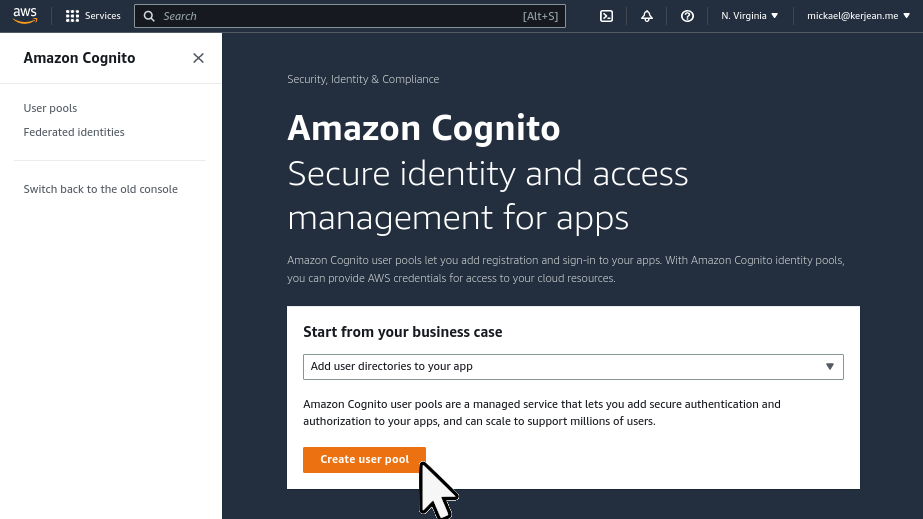
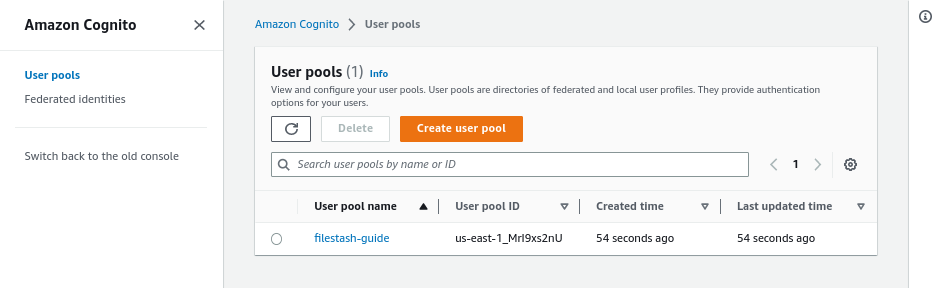
First, let’s go to AWS console and pick the AWS Cognito server. From the landing page, click on the “create user pool” button:
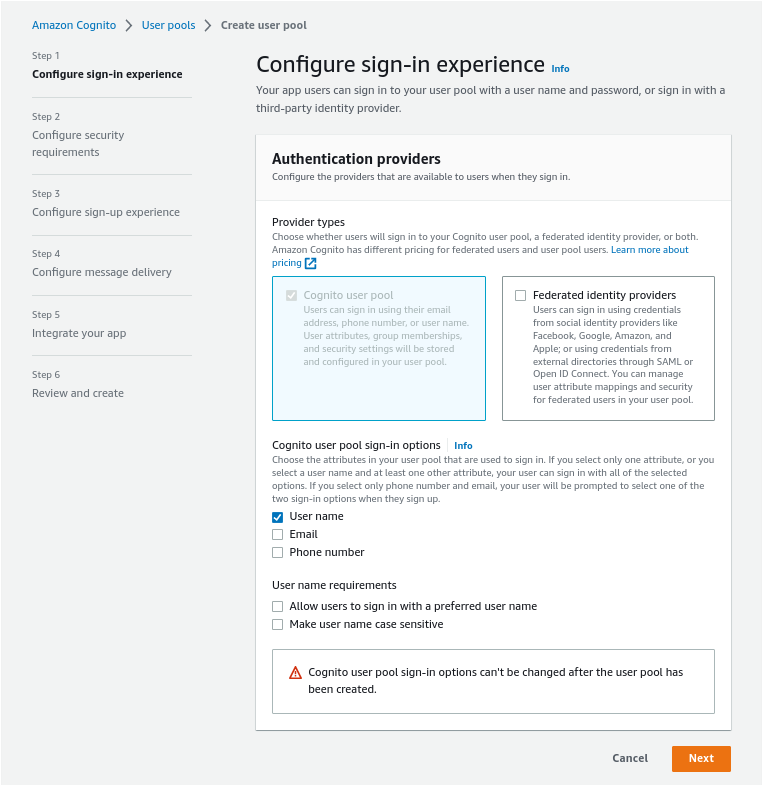
We then need to go through the AWS wizard. In step1, pick “User name”, then click “Next”
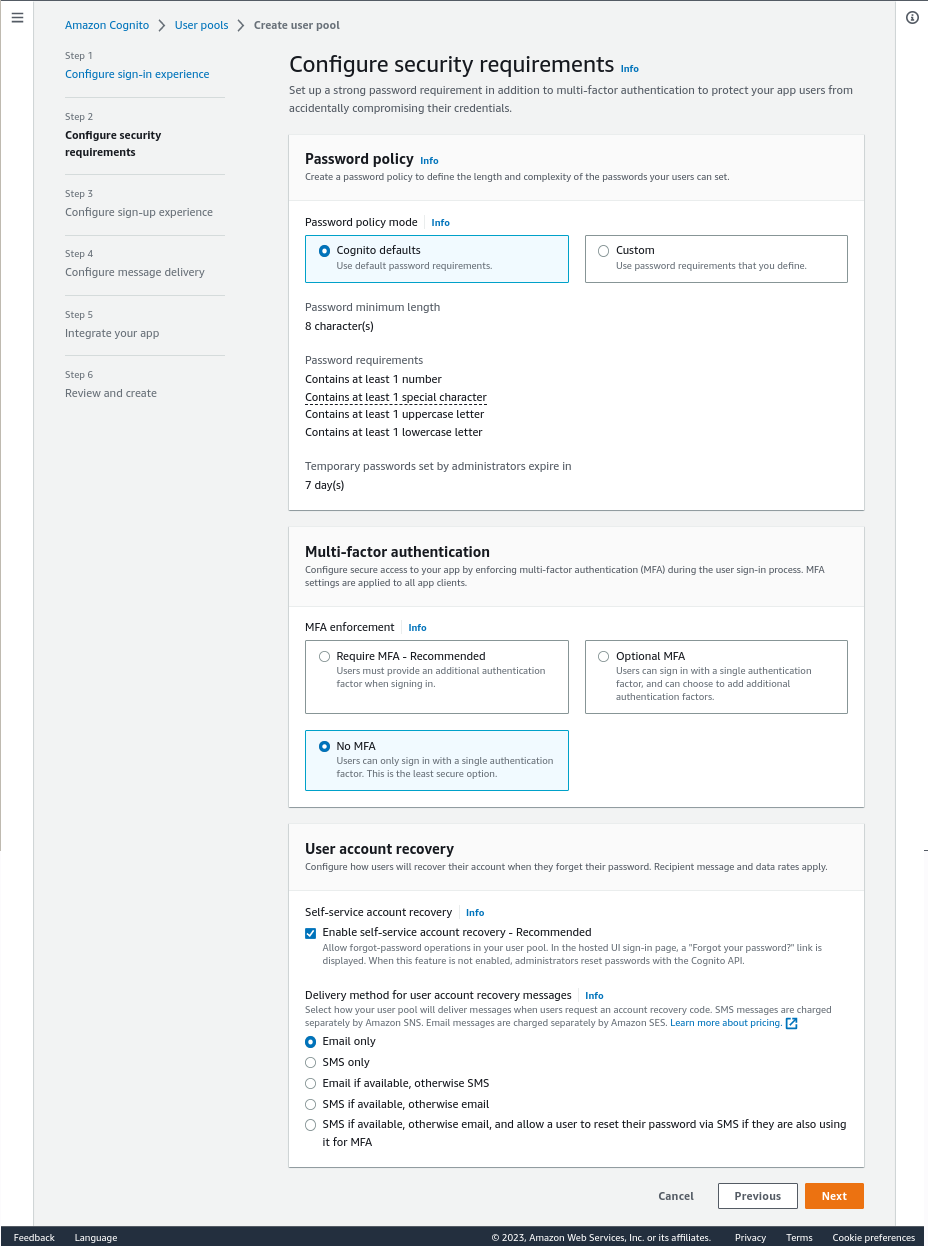
In step2, for the sake of this guide we will disable MFA for now and click “Next” again:
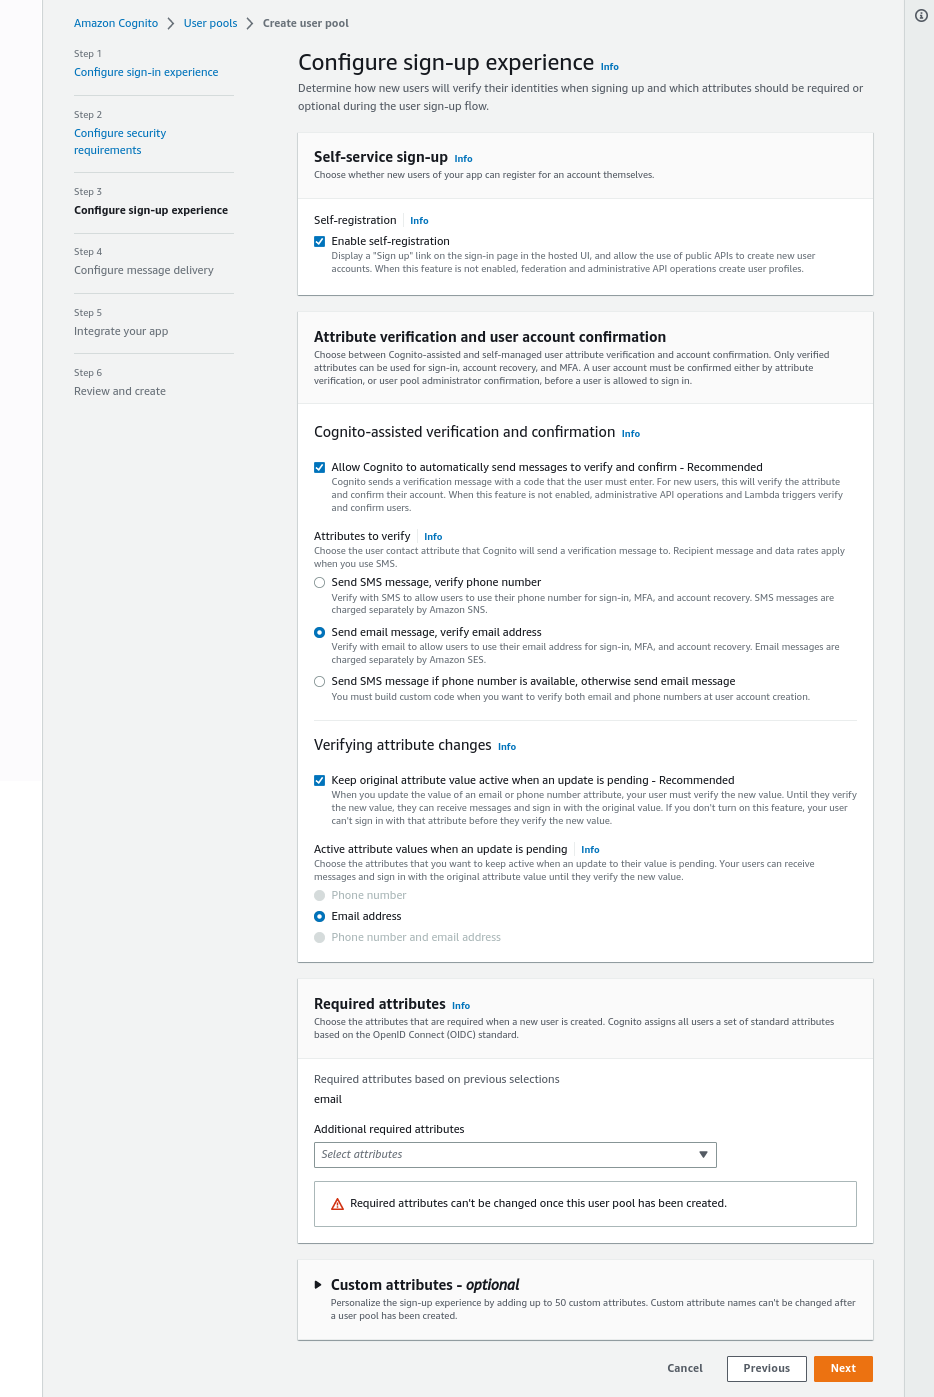
In step3, we just follow along and click “Next”:
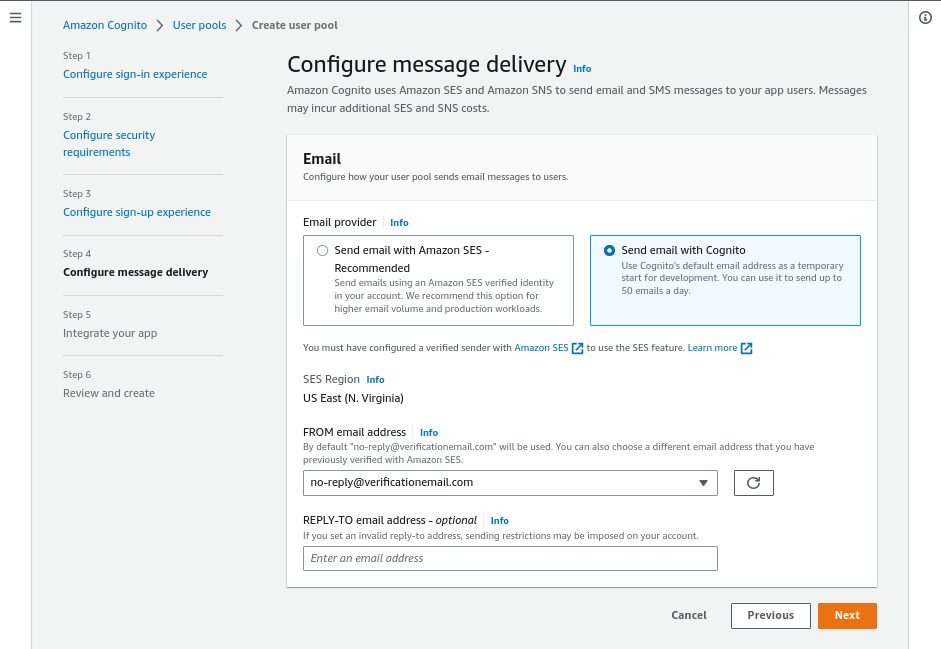
In step4, click on Send email with Cognito, that will be good enough to follow this guide and click on “Next” again:
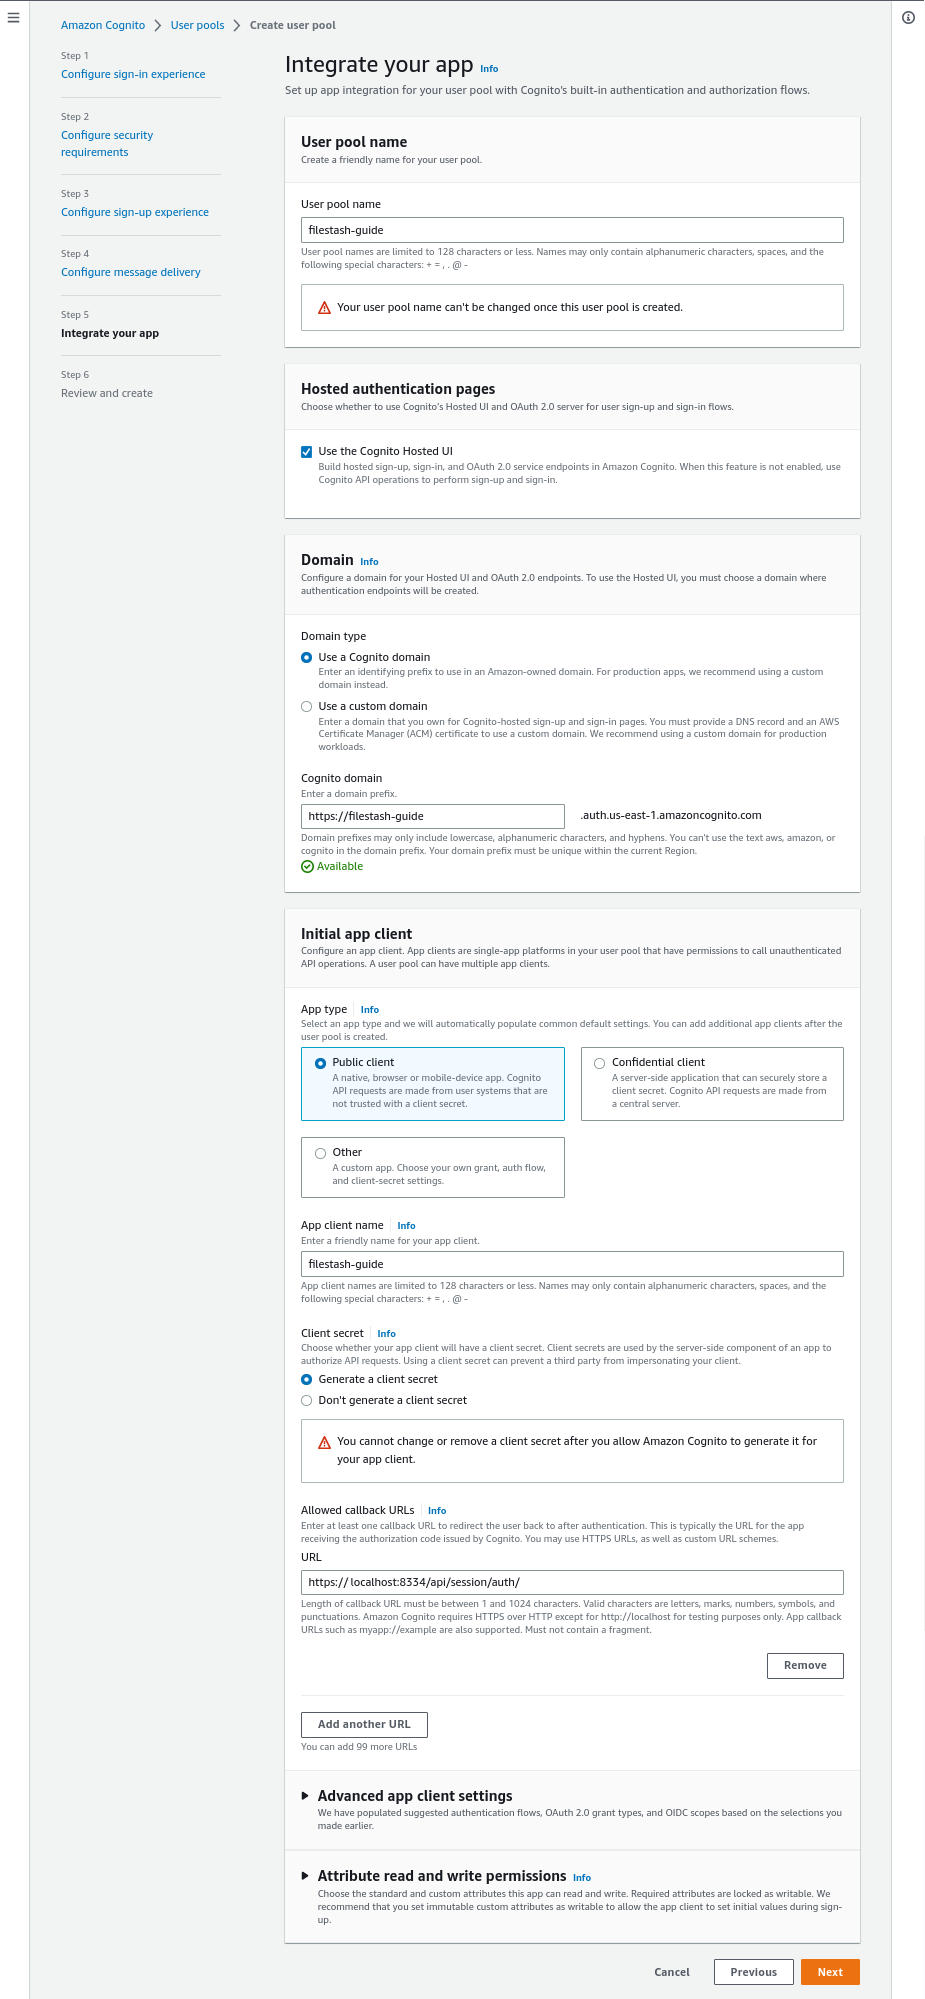
In Step5, pick a random for the pool name, tick the Use the Cognito Hosted UI box and pick a random domain for the Cognito domain.
Once done, head to the Initial app client section, from there pick an app client name, tick the “Generate a client secret” and use as the callback URLs: “https://filestash-domain.com/api/session/auth/”
Everyting else should be fine, go to the bottom of the page and once again, click “Next”:
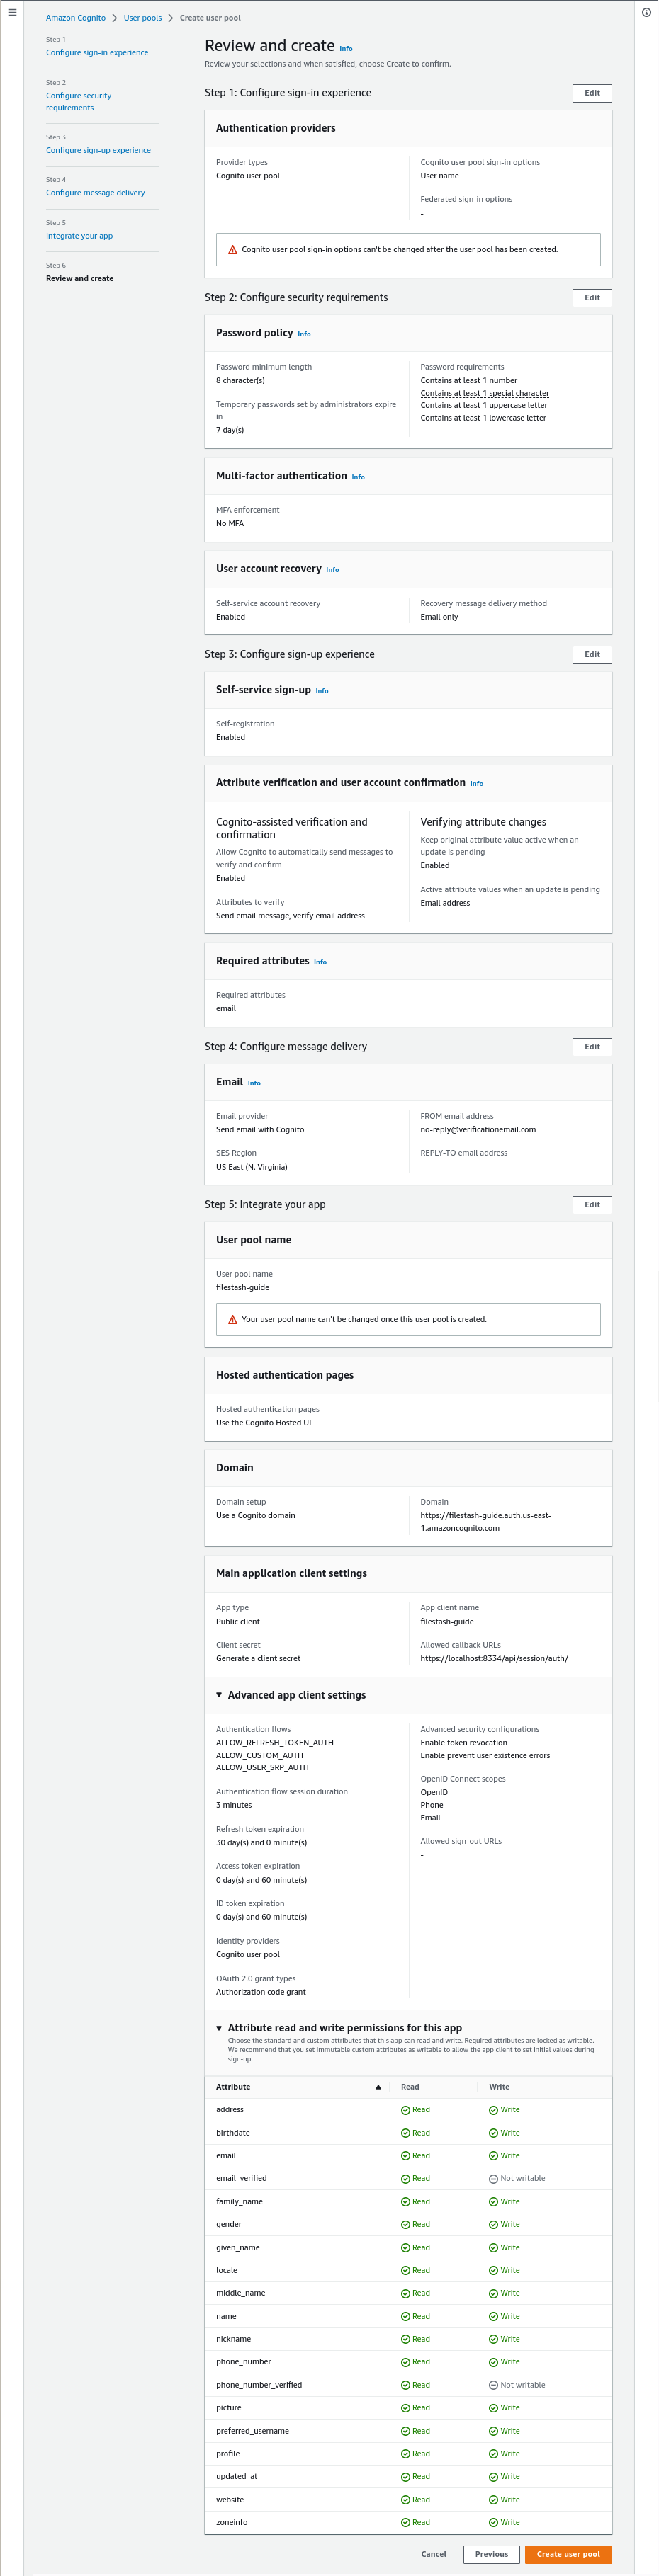
In step6, you shouldn’t have to change anything, head to the bottom of the page and click “Create user pool” to finalise the creation of your IDP.
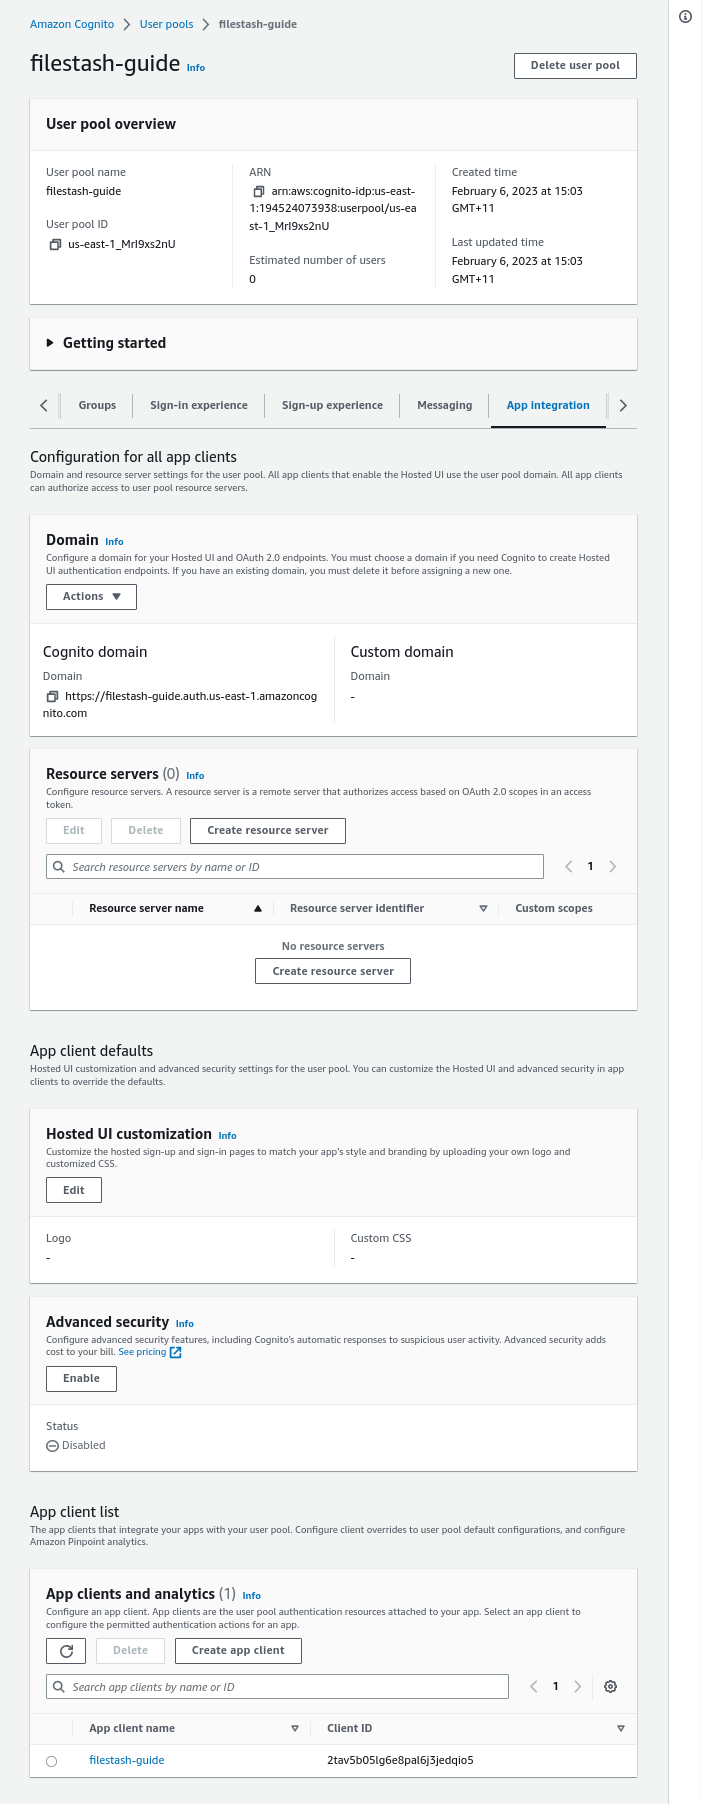
With your newly created IDP, take note of the User pool ID, Filestash will need it to establish the connection with Cognito. In our case it is us-east-1_MrI9xs2nU:
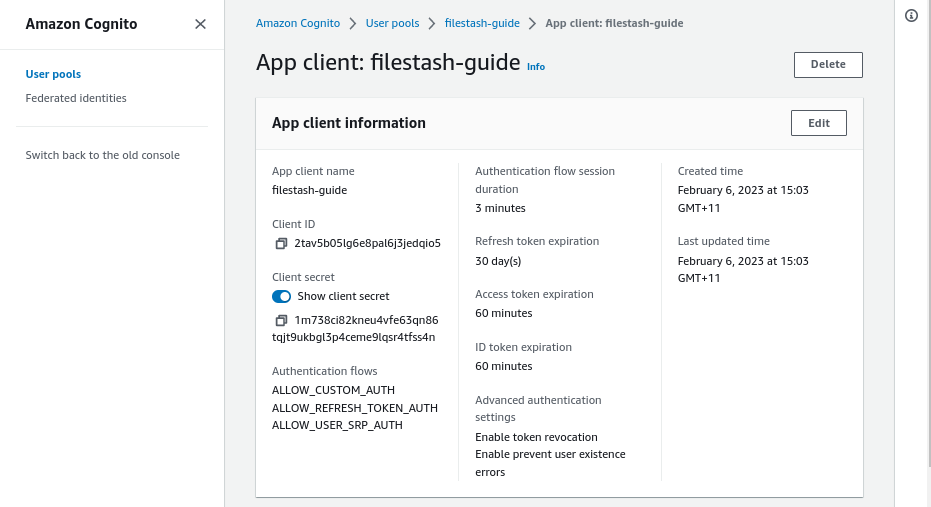
Also visit the App integration tab and specifically the App client list section which gives the clientID which in our case is 2tav5b05lg6e8pal6j3jedqio5:
Take note of this client ID value and click on the app client name you’ve setup and copy the “client secret” somewhere as well as we will need those things when connecting everything together.
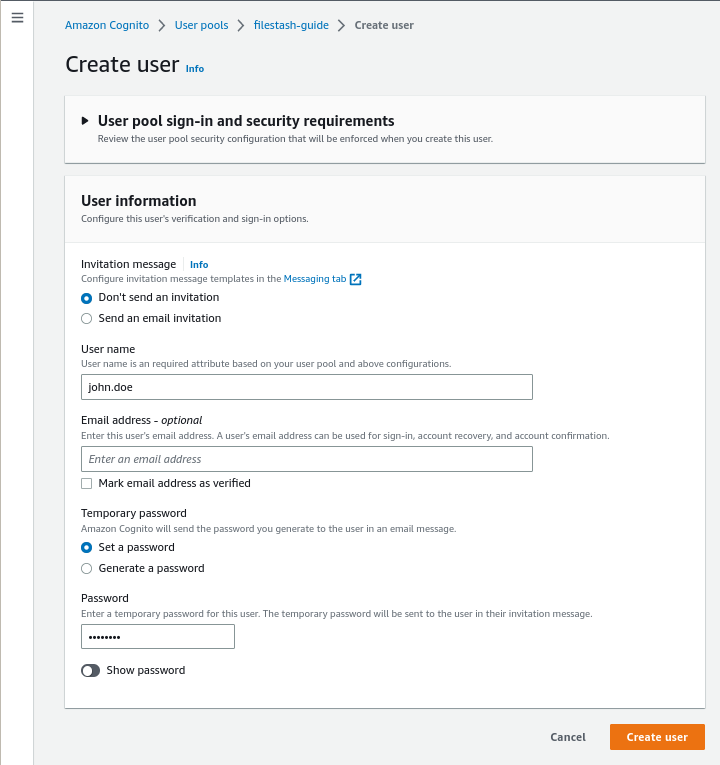
Finally we’ll be creating a dummy test user from which we will be able to connect to our app:
Step3: Configure the authentication middleware
From Filestash, visit “/admin/backend” and setup S3 as a storage backend and OpenID as the authentication middleware.
The OpenID Config URL for AWS Cognito will follow this format:
https://cognito-idp.{{ REGION }}.amazonaws.com/{{ USER POOL ID }}/.well-known/openid-configuration
which in my case is: https://cognito-idp.us-east-1.amazonaws.com/us-east-1_MrI9xs2nU/.well-known/openid-configuration
Take all the values I asked you to copy in the previous step, and copy back the clientID and client Secret as is and keep the “scope” blank for now.
That’s it we’ve now establish the connection between Cognito and Filestash, the remaining part is then to point Filestash which bucket with what credentials to use whenever a user successfully authenticate and that’s what the attribute mapping section is for: