OVH FTP - A guide to access and manage your OVH FTP server
As part of many of their hosting plan, OVH very often provides their customers with some backup storage that take the form of an FTP server. This enable a lot of cool use cases and this post will discuss how to use it.
How to enable your OVH backup storage?
By default, the FTP storage space is disabled, you will need to enable it from your control pannel (Kimsufi Control Panel, Soyoustart Control Panel, OVH Control Panel). From there, you will need to:
- Activate the backup storage:

- Setup an access
The process is rather well documented on their website. Once completed, you should have received your credentials via email.
How to store data in your FTP space?
To make things easier, let’s start by creating some environment variables on your OVH server:
FTP_USERNAME=nsxxxxxx.ip-xx-xx-xxx.eu
FTP_PASSWORD=xxxxxx
FTP_HOSTNAME=ftpback-rbx3-xxx.ovh.net
OPTION 1: Using the ftp tool
First thing first using the ftp tool, create a netrc file in your home:
cat > ~/.netrc <<EOF
machine $FTP_HOSTNAME
	login $FTP_USERNAME
	password $FTP_PASSWORD
EOF
chmod 600 ~/.netrc
Browsing the FTP server can now be done via:
ftp $FTP_HOSTNAME
If you’re not much familiar with the FTP commands, here is a very quick tour around:
mkdir .trash
cd .trash
dir
!touch /tmp/test.txt
put /tmp/test.txt
get test.txt
!ls
The ftp tool isn’t perfect. It shines on that it is available virtually everywhere (even on windows!) but what it get in availibility it loses in the lack options such as no piping, no recursive upload, no recursive download making it hard to upload and download entire folders, …
OPTION 2: Using ncftp
ncftp is a much more complete tool than ftp. To enjoy it, you’d need to first install it:
# on debian
apt-get install ncftp
# on centos
yum install ncftp
# ...
To login using ncftp:
ncftp -u $FTP_USERNAME -p $FTP_PASSWORD $FTP_HOSTNAME
ncftp supports autocompletion, recursive upload with put -R and many other goodies
My favorite use of ncftp is to upload compressed archive without wasting on disk space and using the power of pipe:
FOLDER_TO_BACKUP=/etc/nginx/sites-available
BACKUP_NAME=nginx_backup.tar.gz

tar -zcf - $FOLDER_TO_BACKUP | ncftpput -u $FTP_USERNAME -p $FTP_PASSWORD -c $FTP_HOSTNAME $BACKUP_NAME
With the basic ftp tool, you’d have to first create an archive to then upload it separately which is extremly inefficient and slow making this piping approach much better.
Store data coming from outside your server
Before we dig deep in the topic, let’s create some usefull environment variable and files:
SERVER_HOST=xx.xx.xx.xx
SERVER_USERNAME=xxxxxx
FTP_USERNAME=nsxxxxxx.ip-xx-xx-xxx.eu
FTP_PASSWORD=xxxxxx
FTP_HOSTNAME=ftpback-rbx3-xxx.ovh.net

cat > ~/.netrc <<EOF
machine $FTP_HOSTNAME
	login $FTP_USERNAME
	password $FTP_PASSWORD
EOF
chmod 600 ~/.netrc
At this stage, nobody from outside your server can access your FTP. To store things coming from your laptop on your OVH FTP, we’ll need to set some sort of a proxy or tunnel.
In practise, it’s quite hard to use tunnels with FTP because of how the protocols behaves opening random port for client and server to communicate, making it easy to go down the rabbit hole ending up reading an entire RFC to get it all to work. We won’t do that here, practically speaking the easiest method is to just setup a sock proxy:
ssh -ND 1234 $SERVER_USERNAME@$SERVER_$HOST
Now that our proxy is established, we can create a new bash session that will be using it. To do that, you’ll need a tool called proxychains that is available on virtually every linux distribution. In our scenario, you can use the tool like this:
PROXYCHAINS_SOCKS5=1234 proxychains bash
From your local machine you should now be able to access your OVH FTP server (via the proxy which is your OVH server) to store pretty much anything you want:
ftp -p ftpback-rbxx-xxx.ovh.net
Tips: Don’t forget to close the tunnel once you’re done with it.
How to access your OVH backup storage space?
To manage the data from your FTP server, you have a few options:
- Install something like Filezilla FTP and use it through a sock proxy
- use the previously discussed ftp or ncftp tool straight from your server
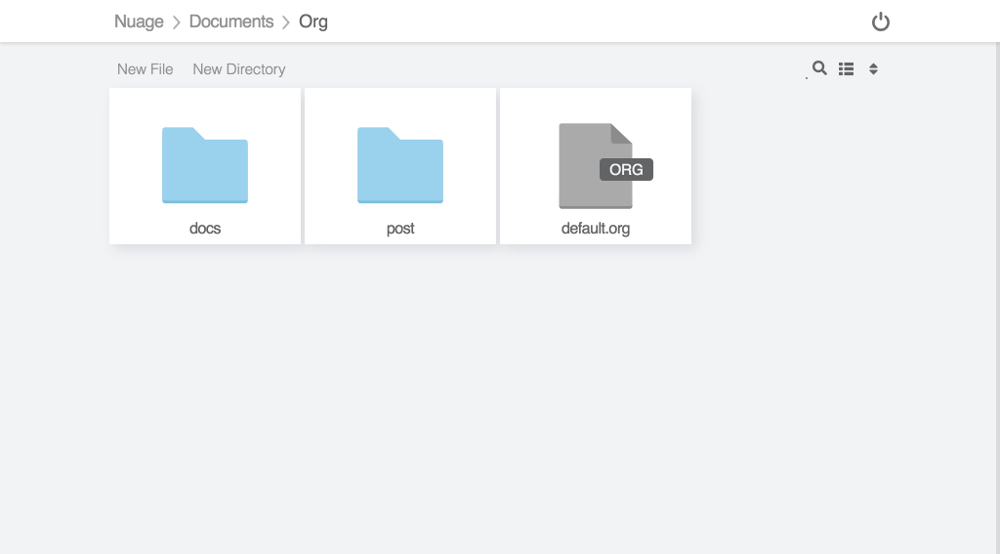
- Use our web-client either by installing it or through the demo:

