How to create a webdav server with Nginx
In this tutorial, I will guide you through the step by step instructions to get a webdav server ready in less than 2 minutes. It is structured around 2 parts:
Install nginx
In Ubuntu 20-04:
~/$ sudo apt -y update
Get:1 https://mirror.hetzner.com/ubuntu/packages focal InRelease [265 kB]
Get:2 https://mirror.hetzner.com/ubuntu/packages focal-updates InRelease [114 kB]
Get:3 https://mirror.hetzner.com/ubuntu/security focal-security InRelease [114 kB]
...
..
...
Reading state information... Done
~/$ sudo apt -y install nginx nginx-extras libnginx-mod-http-dav-ext libnginx-mod-http-auth-pam
Reading package lists... Done
Building dependency tree
...
..
...
Setting up libnginx-mod-http-image-filter (1.18.0-0ubuntu1.2) ...
Setting up nginx-core (1.18.0-0ubuntu1.2) ...
Setting up nginx (1.18.0-0ubuntu1.2) ...
Processing triggers for ufw (0.36-6ubuntu1) ...
Processing triggers for systemd (245.4-4ubuntu3.13) ...
Processing triggers for man-db (2.9.1-1) ...
Processing triggers for libc-bin (2.31-0ubuntu9.2) ...
To make sure everything ran well, let’s make sure nginx is being loaded with the 2 additional modules it needs to run the webdav server: http_dav_module and http-dav-ext:
~/$ if nginx -V 2>&1 | grep -qE "http_dav_module|http-dav-ext"; then echo "good to go :)"; else echo "missing dav module :("; fi
good to go :)
good to go :)
Configure the webdav server
~/$ chown -R www-data:www-data /var/www/html/
~/$ cat > /etc/nginx/sites-available/default << EOF
server {
listen 80 default_server;
listen [::]:80 default_server;
root /var/www/html/;
index index.html index.htm index.nginx-debian.html;
server_name _;
location / {
dav_methods PUT DELETE MKCOL COPY MOVE;
dav_ext_methods PROPFIND OPTIONS;
dav_access user:rw group:rw all:rw;
client_max_body_size 0;
create_full_put_path on;
client_body_temp_path /tmp/;
auth_pam "Restricted";
auth_pam_service_name "common-auth";
}
}
EOF
If you want to allow anonymous user, you can remove the 2 nginx directives that starts with auth_pam and won’t have to run this command:
~/$ sudo usermod -aG shadow www-data
Finally, reload nginx:
~/$ sudo nginx -t && sudo nginx -s reload
To make sure everything is running fine, you can quickly test your newly created webdav server:
~/$ DOMAIN=example.com
~/$ curl -I http://$DOMAIN/index.nginx-debian.html
HTTP/1.1 401 Unauthorized
Server: nginx/1.18.0 (Ubuntu)
Date: Thu, 09 Dec 2021 04:41:01 GMT
Content-Type: text/html
Content-Length: 188
Connection: keep-alive
WWW-Authenticate: Basic realm="Restricted"
~/$ curl -I --user username:password http://$DOMAIN/index.nginx-debian.html
HTTP/1.1 200 OK
Server: nginx/1.18.0 (Ubuntu)
Date: Thu, 09 Dec 2021 04:41:58 GMT
Content-Type: text/html
Content-Length: 612
Last-Modified: Thu, 09 Dec 2021 03:35:44 GMT
Connection: keep-alive
ETag: "61b17990-264"
Accept-Ranges: bytes
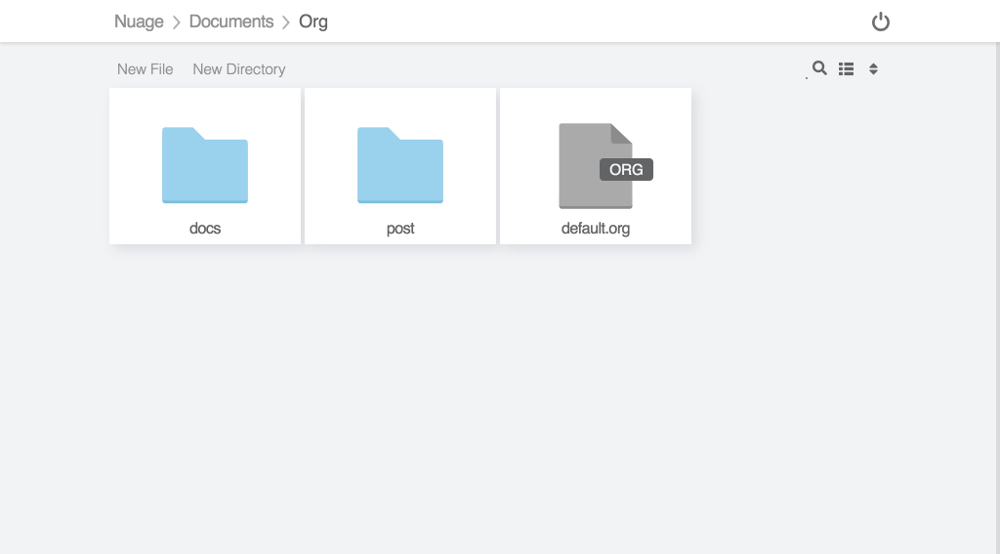
For a nicer webdav client than curl, check our online webdav client:
Pro tips:
- If the server doesn’t have a user already defined, see the user management linux cheat sheet
- Before using this webdav server for anything serious, it is strongly advised to create an SSL certificate. The nginx blog has a great article about that exact topic.
- To make the server readonly, you will need to remove the nginx config line which contains
dav_methods PUT DELETE MKCOL COPY MOVE;. For more information about what you can do by removing some of the supported methods in webdav, refer rfc4918. - if you want to chroot your user onto their home folder, you will need to replace the location block with something like this:
location ~ ^/(.*)$ {
  alias /home/$remote_user/$1;
  ...
}

