How to create a webdav server with Apache
Apache is one of the most popular software there is when it comes to create a web server. My favorite feature is its dynamic module system which enables users to extend the base server functionality with extra features among which creating a WebDAV server.
In this guide, I will show you all the steps involved in creating a WebDAV server from scratch from:
Install Apache
In Ubuntu 20-04:
~/$ apt -y update
Get:1 https://mirror.hetzner.com/ubuntu/packages focal InRelease [265 kB]
Get:2 https://mirror.hetzner.com/ubuntu/packages focal-updates InRelease [114 kB]
Get:3 https://mirror.hetzner.com/ubuntu/security focal-security InRelease [114 kB]
...
..
...
Reading state information... Done
~/$ apt -y install apache2
Reading package lists... Done
Building dependency tree
Reading state information... Done
...
..
...
Created symlink /etc/systemd/system/multi-user.target.wants/apache2.service → /lib/systemd/system/apache2.service.
Created symlink /etc/systemd/system/multi-user.target.wants/apache-htcacheclean.service → /lib/systemd/system/apache-htcacheclean.service.
Processing triggers for ufw (0.36-6ubuntu1) ...
Processing triggers for systemd (245.4-4ubuntu3.15) ...
Processing triggers for man-db (2.9.1-1) ...
Processing triggers for libc-bin (2.31-0ubuntu9.2) ...
Configure the WebDAV server
~/$ a2enmod dav
Enabling module dav.
To activate the new configuration, you need to run:
service apache2 restart
~/$ a2enmod dav_fs
Considering dependency dav for dav_fs:
Module dav already enabled
Enabling module dav_fs.
To activate the new configuration, you need to run:
service apache2 restart
~/$ mkdir -p /usr/local/apache/
~/$ chown -R www-data:www-data /usr/local/apache
~/$ chown -R www-data:www-data /var/www/
~/$ touch /usr/local/apache/user.password
~/$ cat > /etc/apache2/sites-available/webdav-site.conf <<EOF
DavLockDB /usr/local/apache/DavLock
ServerName localhost
Alias /webdav /var/www/
<Directory /var/www/>
DAV On
DirectoryIndex disabled
AuthType Basic
AuthName "Password Required"
AuthUserFile /usr/local/apache/users.password
Require valid-user
</Directory>
EOF
~/$ ln -s /etc/apache2/sites-available/webdav-site.conf /etc/apache2/sites-enabled/webdav-site.conf
~/$ apachectl configtest && service apache2 restart
Syntax OK
Finally let’s create some users:
~/$ htpasswd -c /usr/local/apache/users.password username
New password:
Re-type new password:
Adding password for user username
New password:
Re-type new password:
Adding password for user username
To make sure everything is working out properly:
~/$ curl -X PROPFIND --user "username:password" --data "<d:propfind xmlns:d='DAV:'><d:prop><d:displayname/><d:resourcetype/><d:getlastmodified/><d:getcontentlength/></d:prop></d:propfind>" -H "Depth: 1" http://127.0.0.1/webdav/
<?xml version="1.0" encoding="utf-8"?>
<D:multistatus xmlns:D="DAV:" xmlns:ns0="DAV:">
<D:response xmlns:lp1="DAV:" xmlns:lp2="http://apache.org/dav/props/" xmlns:g0="DAV:">
<D:href>/webdav/html/</D:href>
<D:propstat>
<D:prop>
<lp1:resourcetype><D:collection/></lp1:resourcetype>
<lp1:getlastmodified>Fri, 04 Mar 2022 07:10:02 GMT</lp1:getlastmodified>
</D:prop>
<D:status>HTTP/1.1 200 OK</D:status>
</D:propstat>
<D:propstat>
<D:prop>
<g0:displayname/>
<g0:getcontentlength/>
</D:prop>
<D:status>HTTP/1.1 404 Not Found</D:status>
</D:propstat>
</D:response>
<D:response xmlns:lp1="DAV:" xmlns:lp2="http://apache.org/dav/props/" xmlns:g0="DAV:">
<D:href>/webdav/html/old.html</D:href>
<D:propstat>
<D:prop>
<lp1:resourcetype/>
<lp1:getlastmodified>Fri, 04 Mar 2022 06:41:27 GMT</lp1:getlastmodified>
<lp1:getcontentlength>10918</lp1:getcontentlength>
</D:prop>
<D:status>HTTP/1.1 200 OK</D:status>
</D:propstat>
<D:propstat>
<D:prop>
<g0:displayname/>
</D:prop>
<D:status>HTTP/1.1 404 Not Found</D:status>
</D:propstat>
</D:response>
</D:multistatus>
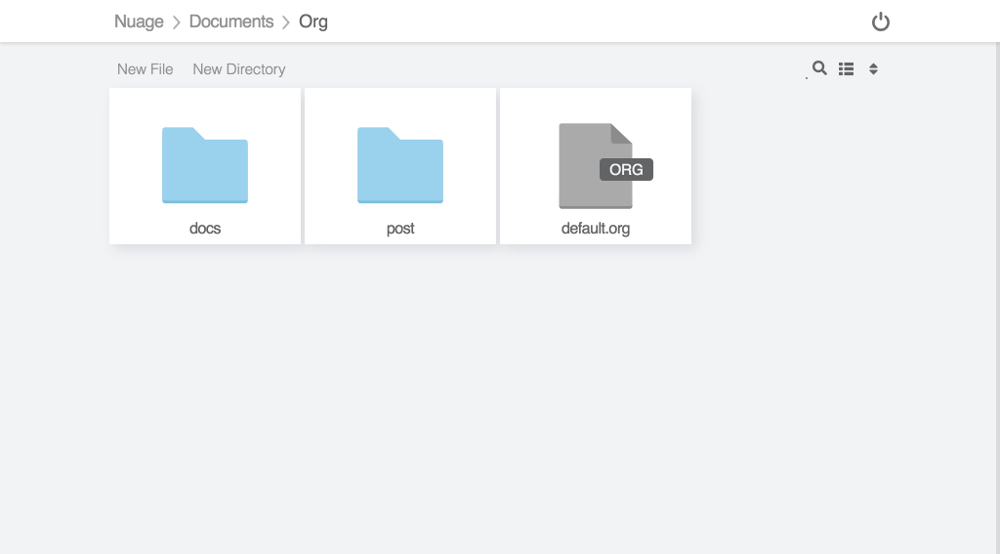
If you’re the kind of person who find xml sexy, you’re good to go with curl, otherwise, check our online webdav client:
Pro tips:
- don’t forget to setup your ssl certificates if you were to use that server outside your local machine. To get this to work, refer to the relevant apache documentation
- There’s a lot more option available for auth, refer to the apache documentation

