A WebDAV testing server
In this post, we will be running a webdav server on Linux that is as simple as possible and made from a single binary. If you’re looking for a fully featured webdav server for more complex and flexible workload, check our guide to set up a webdav server using nginx or apache instead.
Step1: download the webdav binary
~/$ curl -O https://archive.kerjean.me/public/2022/webdav.bin
Running server on http://localhost:8080/
~/$ chmod +x webdav.bin
Running server on http://localhost:8080/
~/$ chmod +x webdav.bin
Step2: run it
~/$ ./webdav.bin
Running server on http://localhost:8080/
Running server on http://localhost:8080/
That’s it, you’re done. The code for this webdav server can be found on github
To go a bit further, you can mount the server from your machine with something like davfs. To do this:
~/$ sudo apt-get install davfs2
Reading package lists... Done
Building dependency tree... Done
Reading state information... Done
The following packages were automatically installed and are no longer required:
libhiredis0.14 libmemcached11 libmemcachedutil2 proftpd-doc
Use 'sudo apt autoremove' to remove them.
The following additional packages will be installed:
libneon27
The following NEW packages will be installed:
davfs2 libneon27
0 to upgrade, 2 to newly install, 0 to remove and 150 not to upgrade.
Need to get 244 kB of archives.
After this operation, 626 kB of additional disk space will be used.
...
and mount it in your machine:
~/$ sudo mount -t davfs http://127.0.0.1:8080 /mnt/
Please enter the username to authenticate with server
http://127.0.0.1:8080 or hit enter for none.
Username:
Please enter the password to authenticate user with server
http://127.0.0.1:8080 or hit enter for none.
Password:
Please enter the username to authenticate with server
http://127.0.0.1:8080 or hit enter for none.
Username:
Please enter the password to authenticate user with server
http://127.0.0.1:8080 or hit enter for none.
Password:
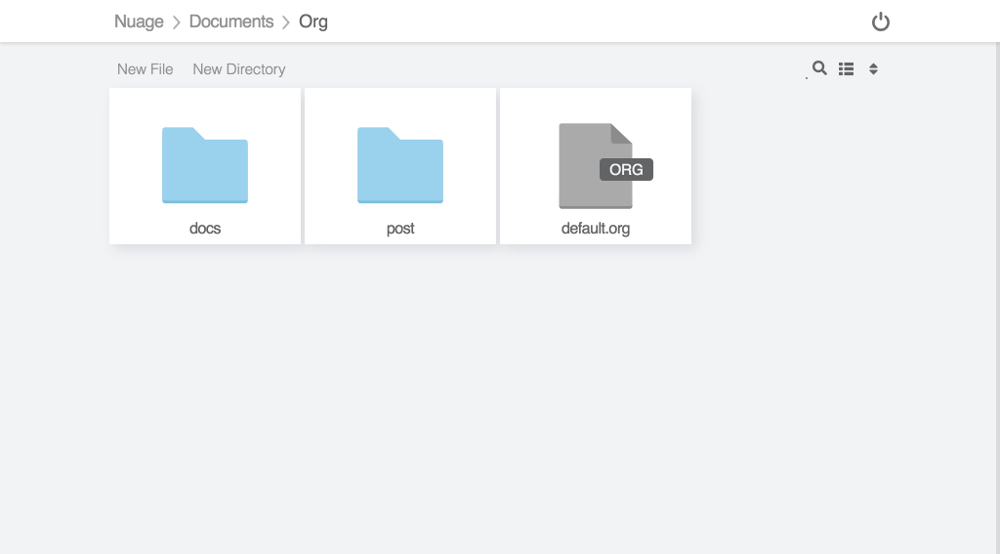
Or you can use a webdav client like Filestash:

